Home GitHub Test Site

GoMap

A BitCrunch Product

Made for UofSC's Computer Science Capstone Project

About GoMap

Brief Overview

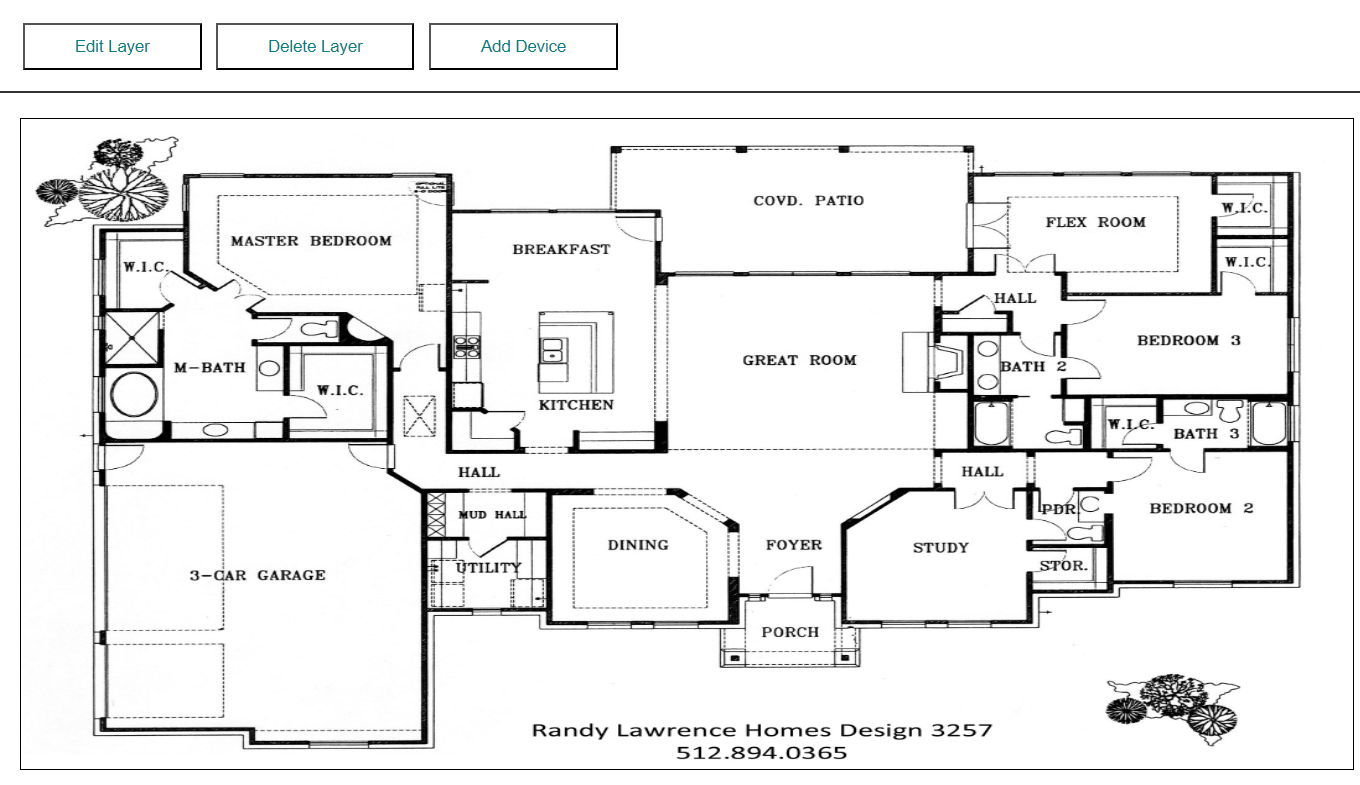
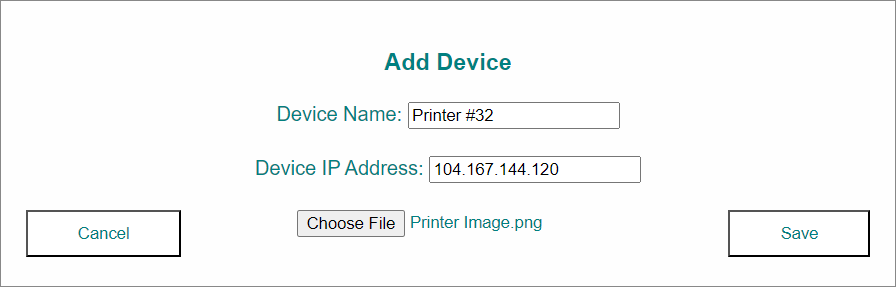
GoMap is the Capstone project BitCrunch has worked on from the Fall ‘22 to Spring ’23 semesters. Our main goal is to help IT technicians in the field to detect and diagnose the causes of various issues with their assigned devices, without the use of messy and long console commands. At the click of a button, users are able to run a specific script to a chosen device, just like how they would through the console. This greatly lowers the skill floor for IT technicians, and allows easier repair (or non-repair) of their machines.

Technical Overview

GoMap is built on Golang, using primarily its provided libraries as well as gin, a http helper. Design of the application is done through CSS and JavaScript. Unit testing is done through Golang’s testing library, and behavioral testing is done using go-rod. We use Amazon AWS for our webhosting, GitHub for our team collaboration, and Discord for our communication. Our schedule of releases was determined by the Capstone Class’s deadlines, which can be seen here.

GoMap is designed to be run on an intranet, local to the area of which a group of IT technicians perform their duties. As for this demonstration, with the application being uploaded to the internet, we have removed the ability to run any scripts outside of the basic “ping”, to be sure that nothing nefarious happens on behalf of our users.


Using GoMap

Accessing the application

To access the application, you must first sign in. For this demonstration, we’ve allowed users to sign up with an account to test it, but in actual use, usernames and passwords will be generated by an administrator. Our sign-in/sign-up is very standard and uses normal practices. Passwords are encoded, and usernames are stored in a database file.

After signing in, users are able to see all floors, which in turn contain all devices on that floor. To view the devices for an already created floor, click on the name of the floor. To make a floor, select the create a floor button. Fill in the boxes with the desired names and select an image for the floor. The image comes from the user’s machine, so make sure the image is downloaded first!

Creating a device is similar to the creation of a floor; fill in the text boxes and provide an image. The user can click and drag devices across the floor to change their position and can just click to edit and run the provided commands to the IP address of the device. As stated before, the only script provided for this demo is the “ping”, which pings the IP address of the device and prints the output.

Demo Video

Final Release - 4/24/23

This is our video demonstrating the usage of GoMap!

UofSC Computer Science Capstone Project: 2022-2023